
Two Ways to Open Single Print
From the Employee List
- Navigate to Employees in the sidebar
- Hover over any employee row — a row of action icons appears on the right
- Click the Print icon (printer icon)
- You are taken to the Print Center with that employee already selected and the badge preview loaded
From the Dashboard or Sidebar
- Click Print Center in the sidebar, or click the Issue Badge / Print Center quick-action cards on the Dashboard
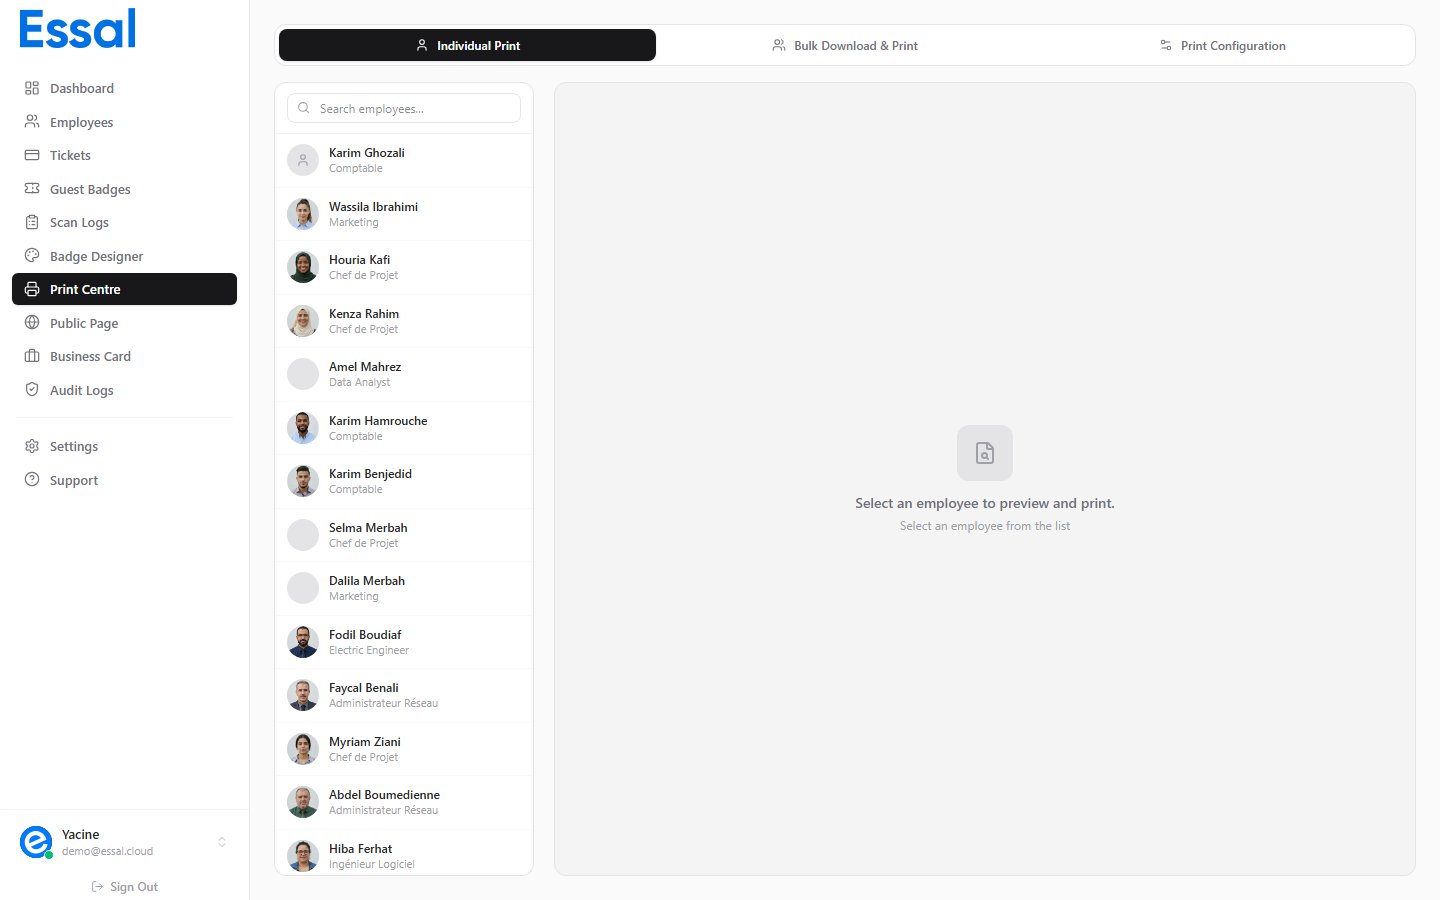
- The Print Center opens on the Individual tab
- Use the employee search list on the left to find and select an employee
- The badge preview updates immediately on the right
The Print Center — Individual Tab
The Individual tab has two panels: Left panel — Employee selector- Search box to filter employees by name
- Scrollable list of all employees with their avatar, name, and department
- Click any employee to load their badge in the preview
- Live rendering of the badge using the current badge template and the selected employee’s data
- Shows Front side by default; if the badge back is enabled, both sides are displayed
Printing via the Browser
Click Print Badge to open your browser’s print dialog. Tips for best results:- Set paper size to match your badge card stock (CR80 card, A4 sheet, etc.)
- Set margins to None or Minimum in the print dialog
- Disable Print headers and footers in the browser’s settings
- Select Background graphics (or equivalent) so badge colors print correctly
- Use Scale: 100% — the badge is pre-sized for accurate proportions
Downloading as PNG
Click Download PNG to save the badge as a high-resolution image file. The downloaded PNG:- Resolution: approximately 1720 × 2720 px for a standard badge (at 4× pixel ratio)
- File name:
{FirstName}_{LastName}_{BadgeID}.png - Ready to send to a print shop or embed in other documents
- Includes the badge front side only (back side requires the bulk ZIP export)
Note: PNG download processes the badge at high resolution and may take 2–5 seconds. A spinner shows while rendering.