
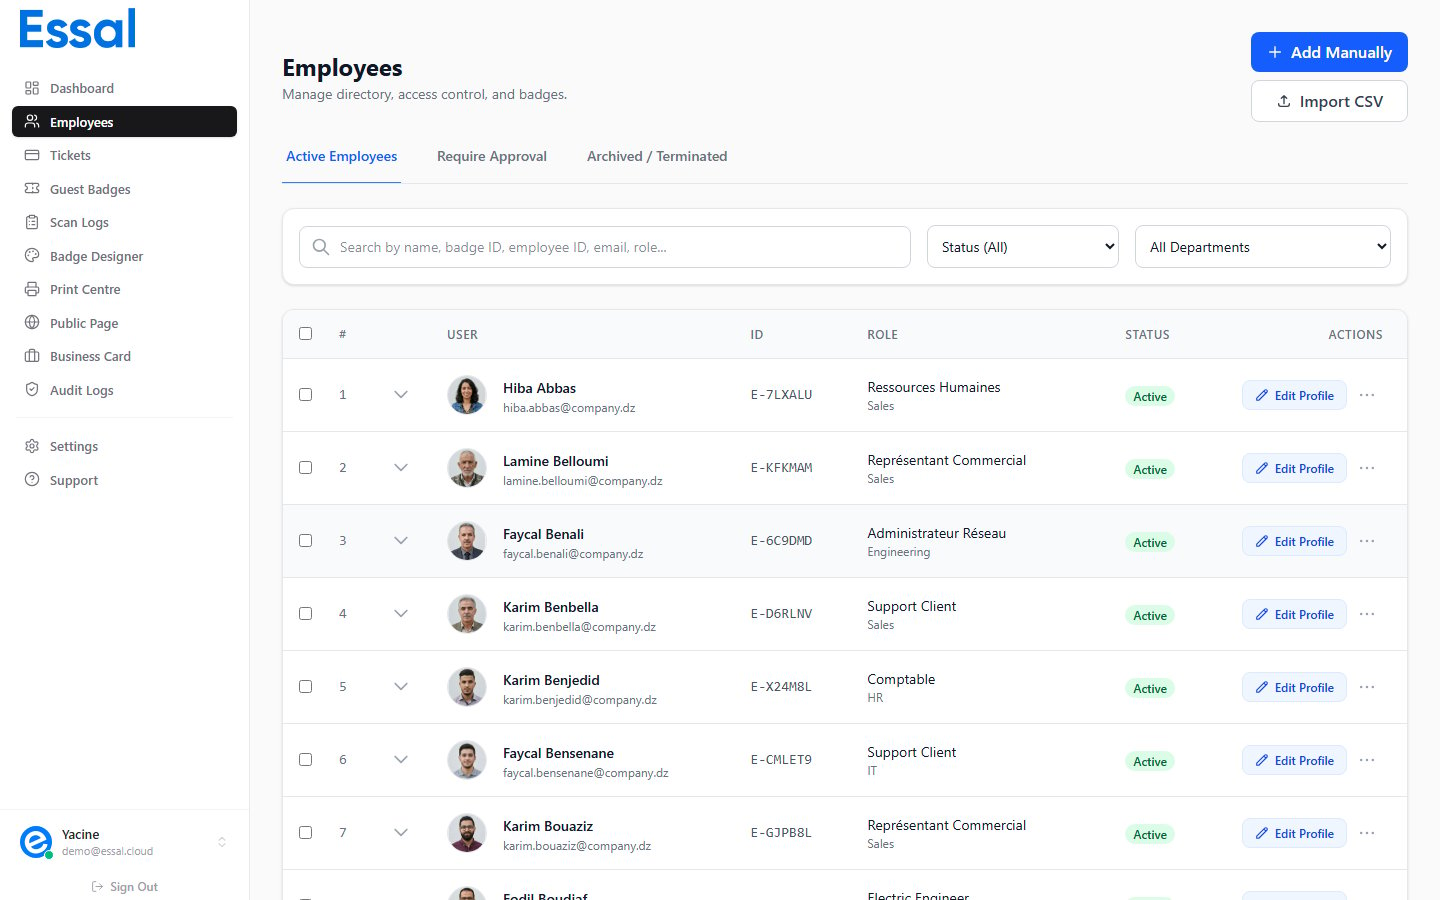
Required Fields
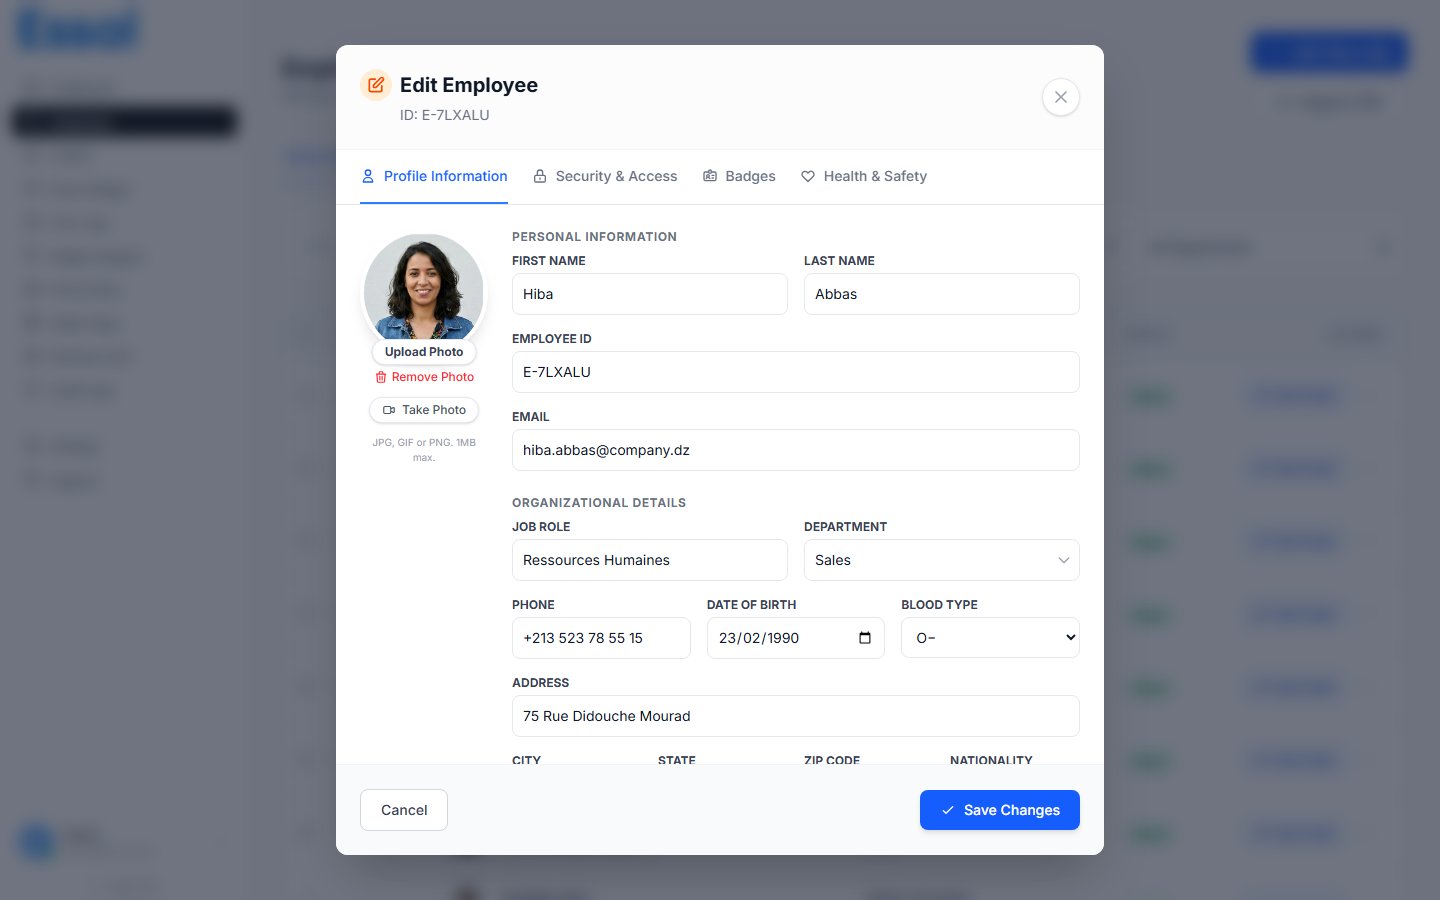
Only two fields are required to save an employee record:- First Name
- Last Name
Profile Tab — Field Reference
The Profile tab is divided into two sections: Personal Information and Organizational Details.Personal Information
Organizational Details
Custom Fields
If your admin has defined custom attribute fields (Settings → Custom Fields), they appear below the standard fields. Fields marked with a red asterisk are required.Adding a Photo
The profile photo appears on the employee’s badge and public profile. Three methods are available: Upload from file — Click the photo circle or the Upload Photo button. Supported formats: any image file. Maximum size: 2 MB. The photo is cropped to a circle on the badge. Capture from webcam — Click Take Photo to open the camera. Review the captured image, then click Accept to use it or Retake to try again. No photo — If no photo is uploaded, a placeholder avatar is shown on the badge. You can add a photo later by editing the employee record.AI photo enhancement (Claid integration): If your tenant has the Claid photo API configured, the background is automatically removed from uploaded photos.
Saving the Record
Click Save in the bottom-right of the modal (or press Alt+S). The employee is added to the list with status Active, and a badge is generated automatically using your badge template. If either the First Name or Last Name field is empty, the Save button is disabled.Employee Tabs After Saving
Once a record is saved, the modal has four tabs:
These tabs are covered in their own articles. For now, the defaults (Active status, no PIN, no schedule restrictions) are appropriate for most new employees.