
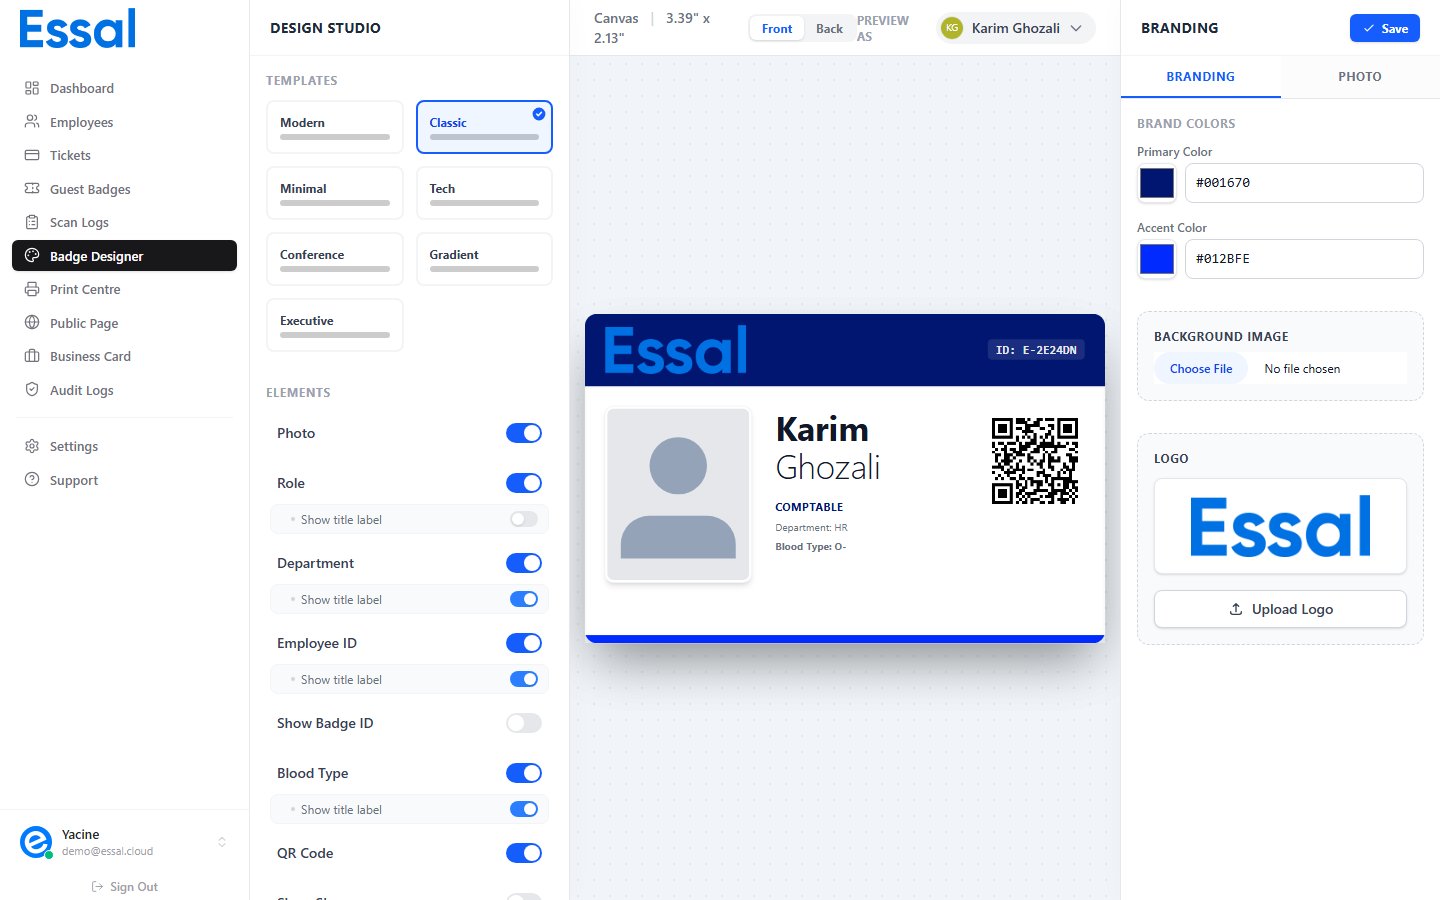
Primary Color
Primary Color is the most prominent color on the badge. It controls:- Header bars and sidebar panels (Corporate, Modern)
- Role pill backgrounds and text accents (most layouts)
- The vertical accent strip (Conference)
- QR code backgrounds in some layouts
- Logo text color when no logo image is uploaded
- Accent elements on the badge back
- Click the color swatch next to Primary Color
- Use the native color picker to select a color
- Or type a hex code directly in the text input next to the swatch (e.g.
#1d4ed8)
Tip: Import your exact brand colors automatically using BrandFetch — see Using BrandFetch to Import Your Logo and Brand Colors.
Accent Color
Accent Color is the secondary color used for:- Footer stripe (Corporate layout)
- Second gradient stop (Gradient layout — the badge flows from primary to accent to primary)
- Badge back default background color (when no custom background is set)
Logo
The Logo section lets you upload your company logo image.- Click Upload Logo (or the logo preview area)
- Select any image file — PNG, SVG, JPG, or WEBP
- The logo appears on the badge in the logo position defined by the layout
Logo tip: Use a PNG or SVG with a transparent background for the cleanest result on all badge layouts. White logos work best on dark-themed layouts (Tech, Executive).The same logo is used on both the badge front and back.
Background Image (Front)
You can place an image behind the badge content on the front face:- Under Background Image in the Branding tab, click the upload area
- Select an image (maximum 2 MB)
- The image renders as a background layer behind all badge content
Background images are stored encoded within the badge configuration. Keep file sizes under 2 MB for best performance.
Font
Three font families are available for badge text:
The font applies to all text on the badge — name, role, department, and all field labels.
Note: The font selector is applied automatically by the AI Theme Generator when available. The default font for new templates is Sans-serif.
How Colors Work Per Layout
Different layouts use the primary and accent colors differently:
Use the live preview to see exactly how your color choices look before saving.