
Opening the Employee Modal
Navigate to Employees in the sidebar to open the employee list.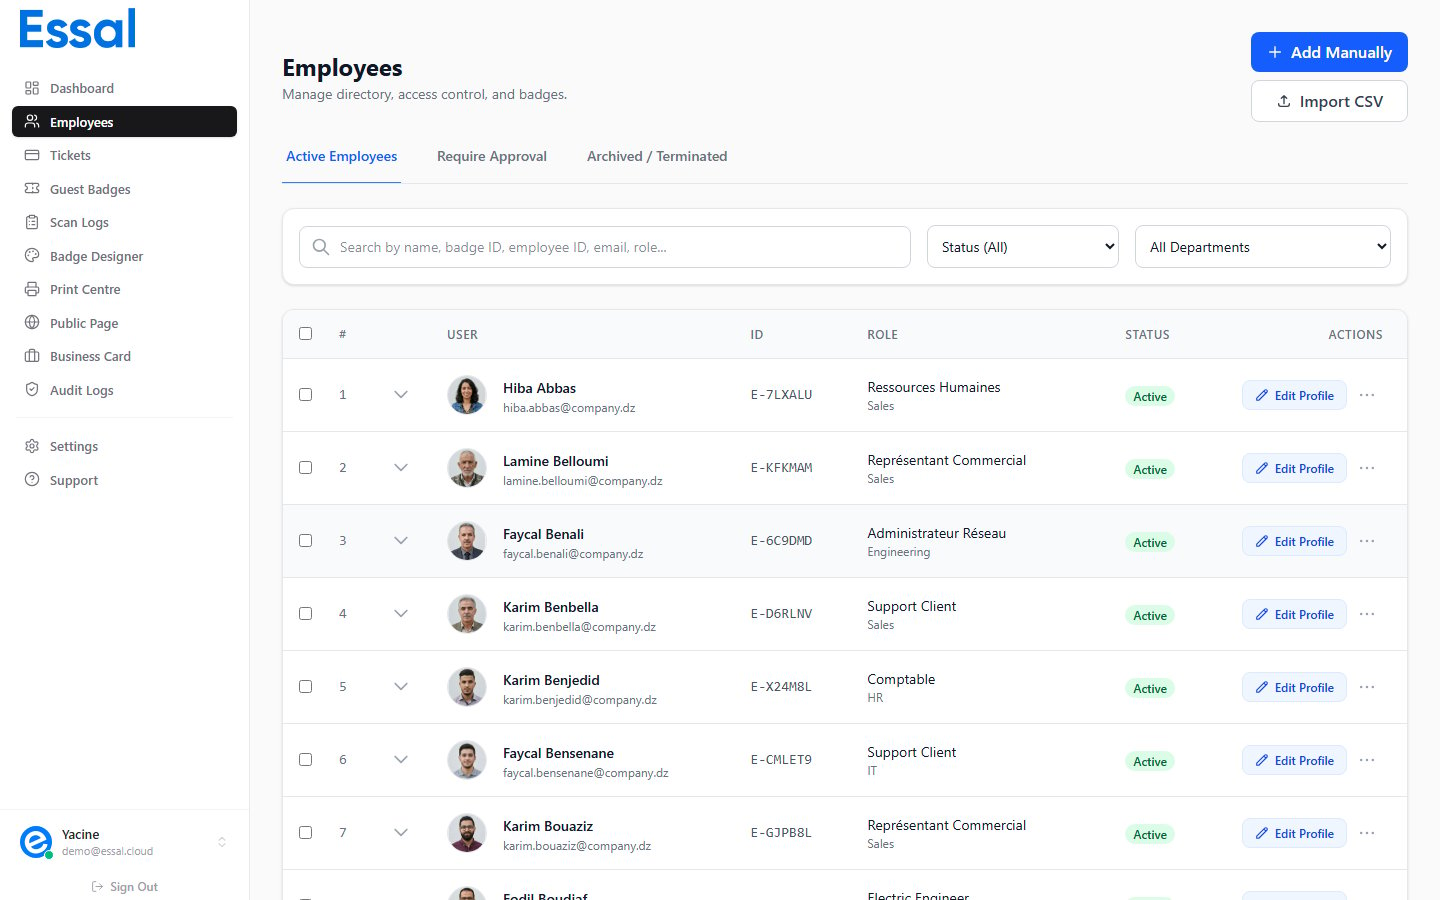
- “Edit Employee” as the title
- The employee’s unique ID below the title (e.g.
EMP-A3F7K2) - A close (×) button in the top-right corner
Unsaved changes: If you make changes and try to close the modal without saving, a confirmation prompt will appear. Click Discard to lose changes or Keep editing to stay.
Navigating the Four Tabs
The modal has four tabs along the top. Click a tab to switch, or use the keyboard shortcutsCtrl+1 through Ctrl+4.
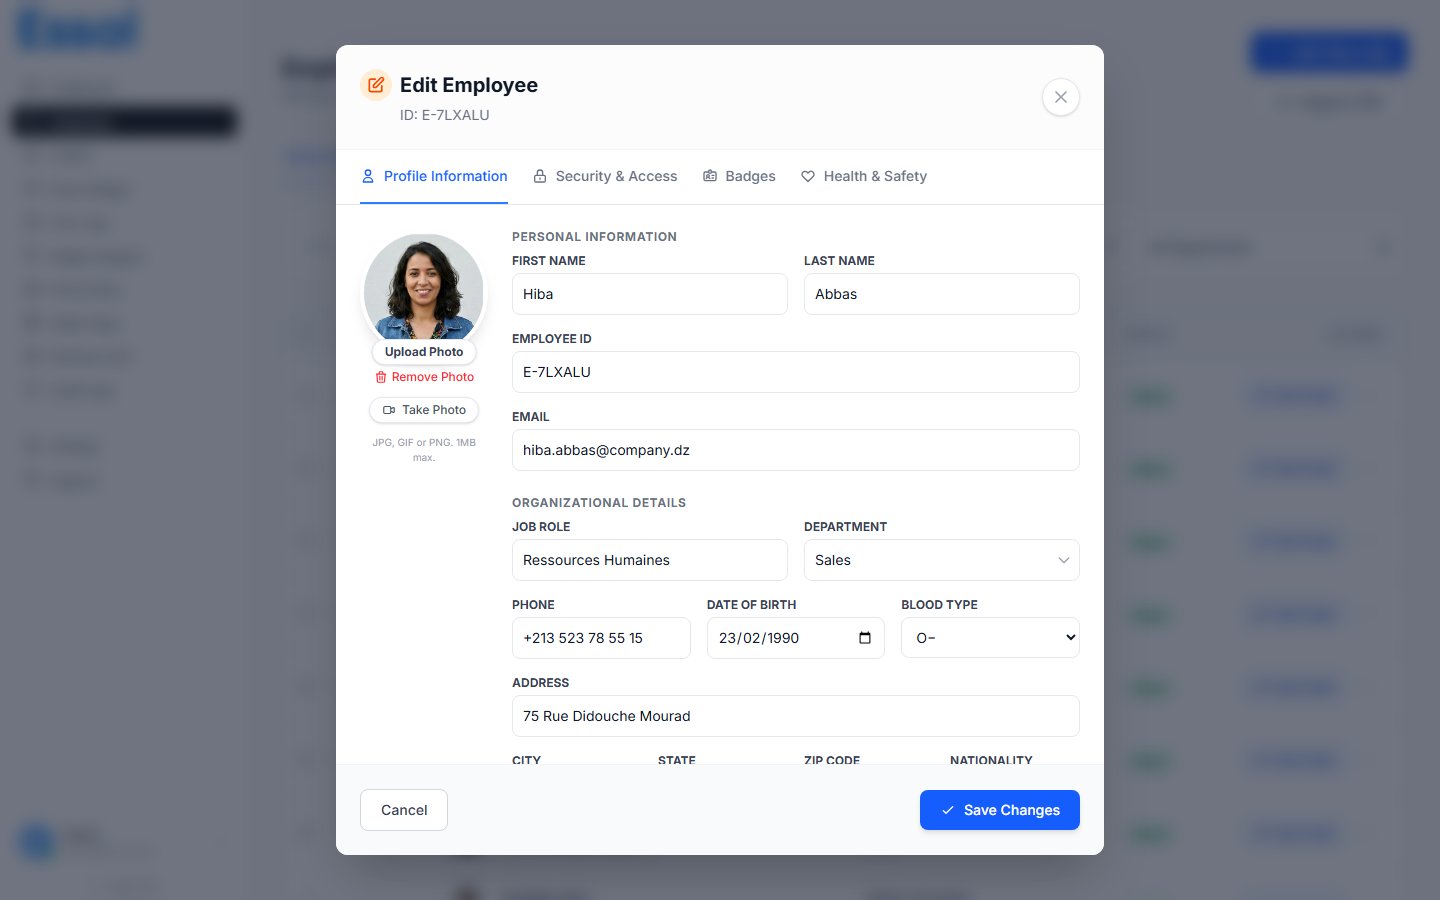
Profile Tab
The Profile tab contains all the core employee information. See Adding a New Employee for a full field reference. Key points when editing:- Employee ID is read-only after the record is first saved — it cannot be changed
- Department must already exist in Settings → Departments before it can be selected
- Custom fields appear at the bottom of the form if your admin has defined them in Settings → Custom Fields
Security Tab
The Security tab controls how the employee’s badge behaves during scanning and what access restrictions apply.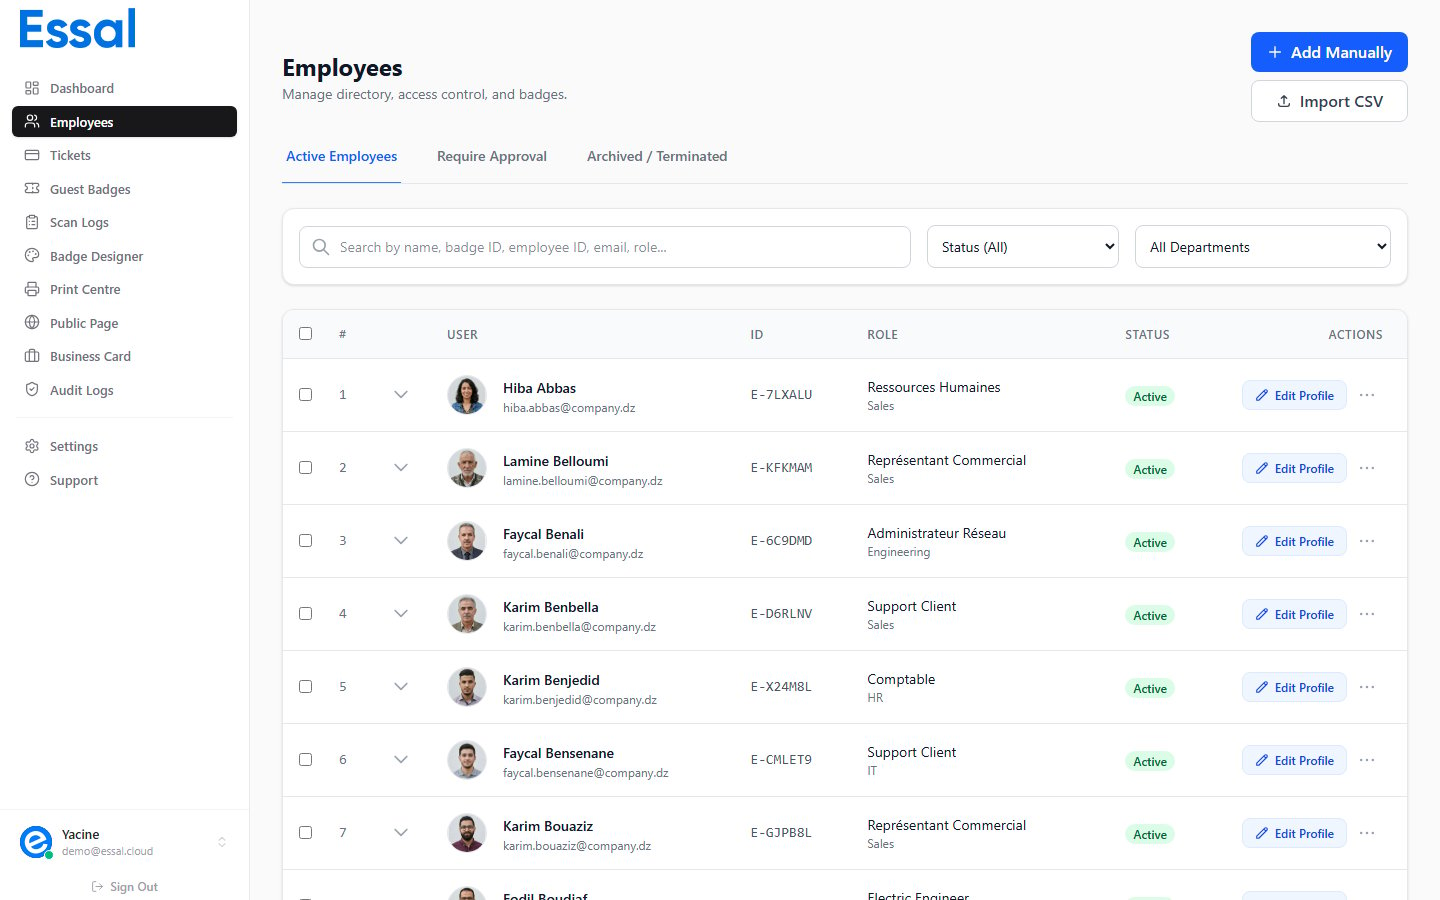
Badge Status
The Status dropdown has three options you can set directly:Note:PendingandTerminatedstatuses are set through the employee list actions (Approve, Terminate), not from this dropdown.
Access Zones
Access zones define which physical areas this employee can enter. When a check-in device is assigned to a zone, it will only grant entry to employees assigned to that zone.- The current zones appear as removable tags — click × to remove one
- Use the zone dropdown to add additional zones from the list defined in Settings → Access Zones
- If no zones are assigned, the employee can be scanned at any device (zone restriction is not enforced)
- Click Manage Access Zones to open the zone settings page
Security Controls
2FA PIN Details
When Require PIN After Scan is enabled:- A 4-digit numeric field appears
- Click Generate to create a random PIN automatically
- The PIN is shown in plain text until the record is saved — after saving, only
••••is displayed with a Reset button - The PIN is stored encrypted; share it with the employee separately
Time Restricted Access
Enable the Time Restricted Access checkbox to restrict when the employee’s badge is valid:- Set From and Until times using the time pickers
- Toggle individual days using the Su Mo Tu We Th Fr Sa buttons (blue = allowed)
- The default when first enabling is Monday through Friday, 09:00–17:00
- Outside the allowed window, scans are denied with an “outside schedule” message
Advanced Features
Three additional security settings are grouped in an expandable section:Badges Tab
The Badges tab shows the complete badge history for this employee — every badge ever issued, its current status, and its issue/deactivation dates.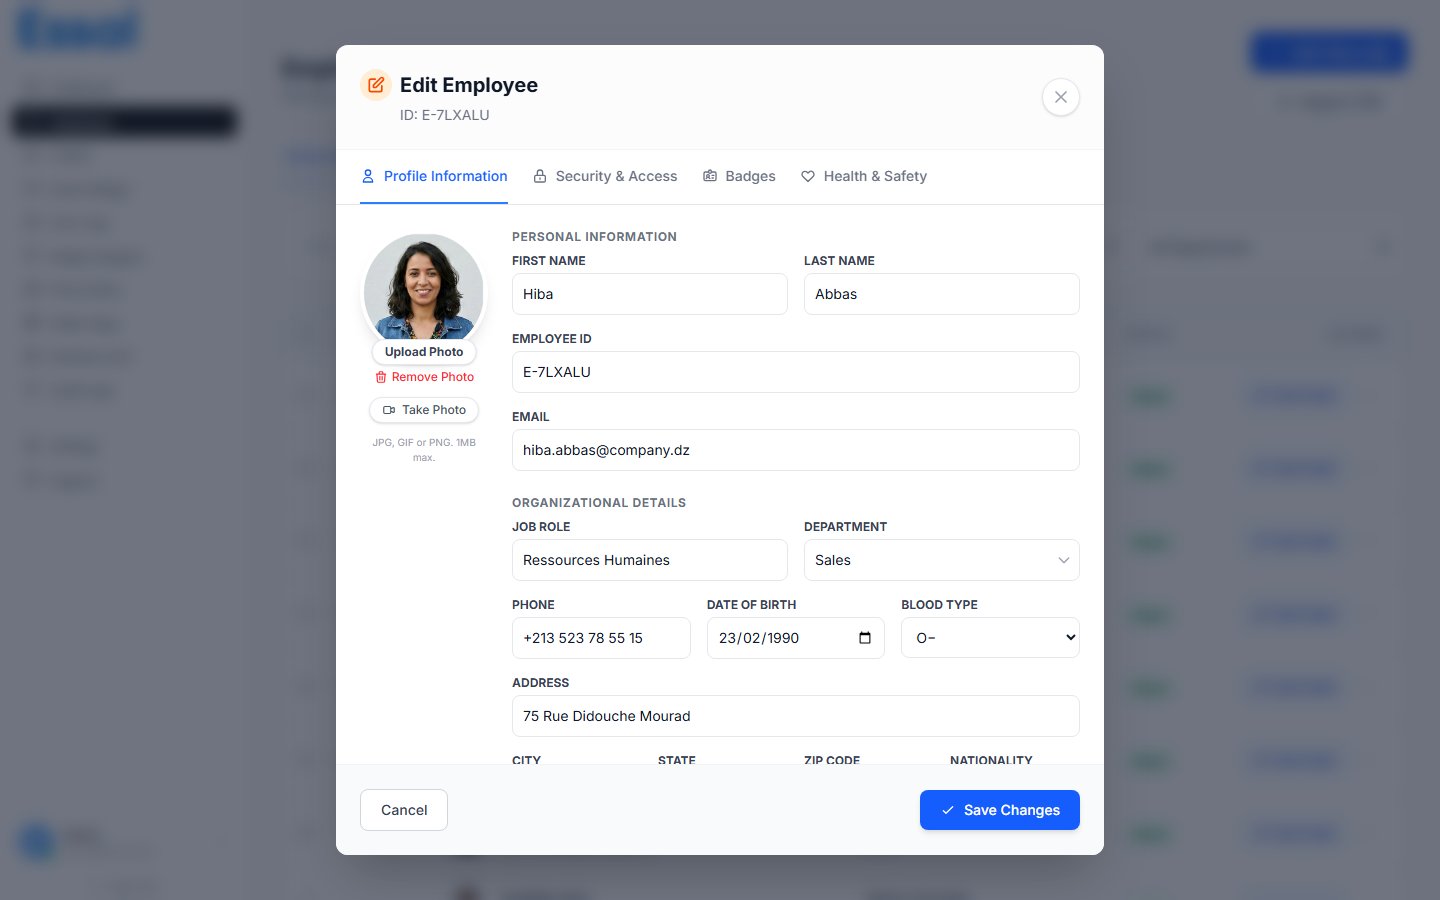
Issue New Badge
Click Issue New Badge to generate a new badge with a unique Badge ID. This:- Creates a new badge entry with status
Active - Deactivates any currently active badge (sets it to
Inactivewith a deactivation timestamp) - Updates the employee’s
activeBadgeId
The Issue New Badge button is disabled if the employee already has an active badge, or if the First Name or Last Name fields on the Profile tab are empty.
Badge List
Each badge in the history shows:- Badge ID — the unique identifier (e.g.
BDG-X7K2M9) - Issued date — when the badge was created
- Status — Active (green), Lost, or Inactive
- Deactivated date — shown for inactive/lost badges
Revoking and Reactivating
- Revoke (shown on active badges) — marks the badge as
Lostand deactivates it. A confirmation prompt appears before the action is applied. - Reactivate (shown on inactive/lost badges) — restores the badge to
Active. Disabled if another badge is already active or if the employee’s name fields are empty.
Health & Safety Tab
The Health & Safety tab stores sensitive employee data for emergency and safety management.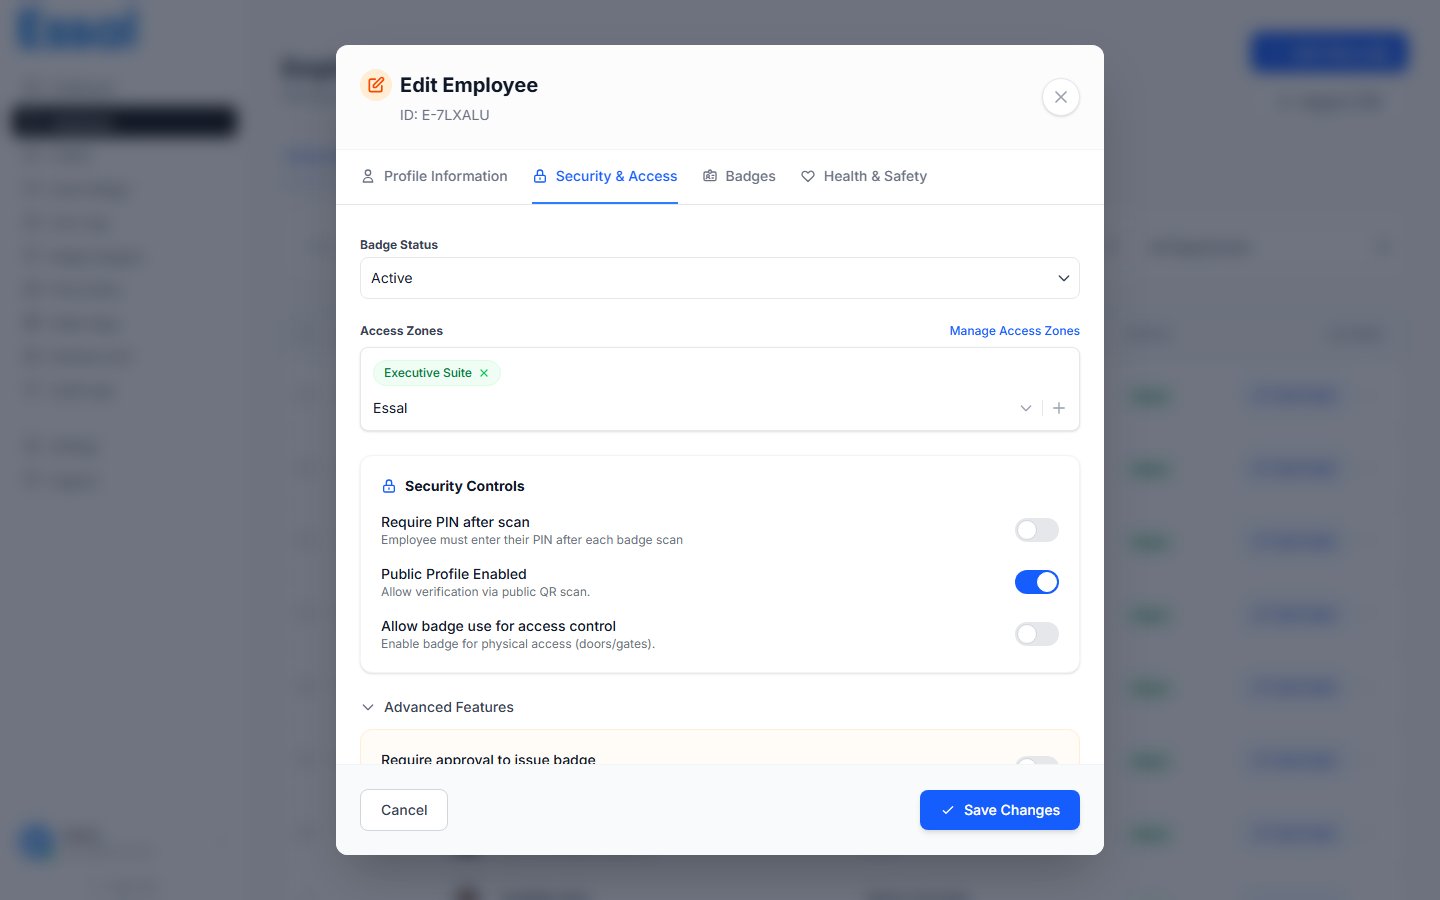
Adding a Safety Certification
- Click Add Certification to reveal the form
- Enter the certification Name (required), Cert Number (optional), Issued Date, and Expiry Date
- Click Add Certification to save it to the list
- Expiring Soon (within 30 days) — amber pill
- Expired — red pill
Saving Changes
Click Save in the bottom-right corner of the modal, or pressAlt+S. The button is disabled if either First Name or Last Name is empty.
A spinner appears while the save is processing. After a successful save, the modal remains open so you can continue editing.