
Alt+I).
Before You Start
Prepare your data:- Export your employee list from your HR system as CSV, or fill in the downloadable template
- Make sure at least First Name and Last Name columns are present — these are the only required fields
- Dates should be in a standard format (e.g.
YYYY-MM-DDorMM/DD/YYYY) - Blood type values should be:
A+,A-,B+,B-,AB+,AB-,O+, orO-
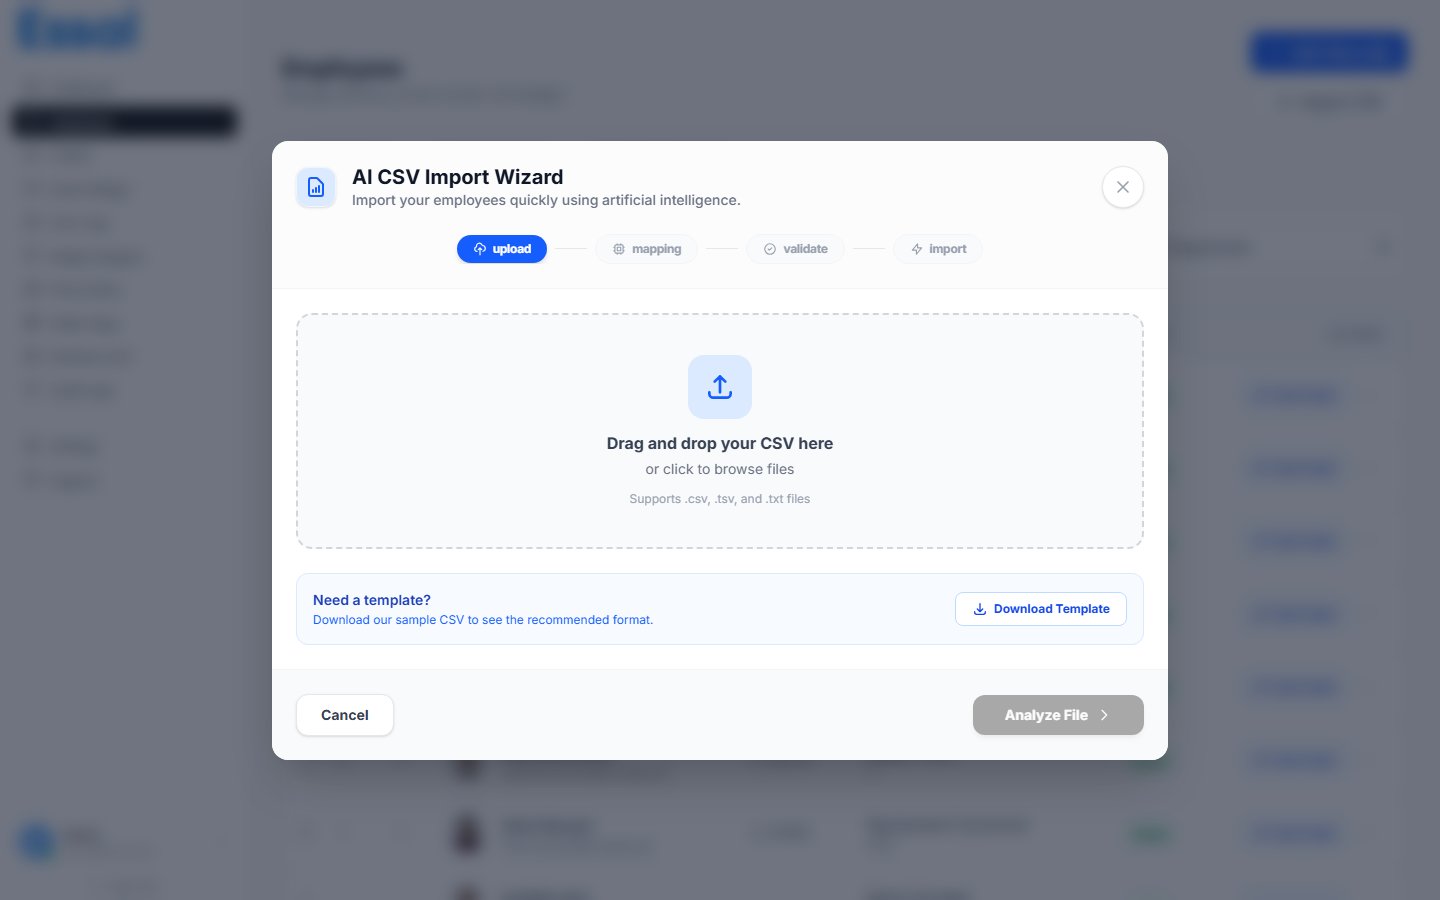
.csv, .tsv, .txt
Step 1 — Upload Your File
Drag your file onto the upload zone, or click anywhere in the zone to browse and select a file. After the file is loaded, the wizard shows:- Row count — the number of data rows detected
- Column count — the number of header columns
- File size
- Detected Columns — a list of all column headers found in the file
Step 2 — Map Columns
Essal Access automatically maps your CSV columns to employee fields using AI-assisted inference. The mapping table shows:
Review the mappings and correct any that are wrong using the Mapped To dropdown. Options include:
- Skip — ignore this column entirely
- Full Name → First + Last — splits a single full-name column (e.g.
"Jane Smith"→ First:Jane, Last:Smith) - All standard employee fields (see table below)
- Any custom fields defined in Settings → Custom Fields
Standard Importable Fields
AI mapping notice: If the AI service is unavailable, Essal Access falls back to keyword-based column matching. An amber notice is shown when automatic fallback was used — review the mappings carefully in that case.
Step 3 — Preview and Validate
Before importing, the wizard validates every row. Three counters appear at the top:- Ready — rows that passed validation and will be imported
- Warnings — rows with minor issues that will still import (e.g. unrecognized department name)
- Errors — rows that cannot be imported as-is
- OK (green) — valid, will import
- Warning (amber) — will import with the issue noted
- Error (red) — will be skipped unless you choose to import anyway
Handling Errors
Two options when errors exist:- Fix the file — click Back, correct the issues in your spreadsheet, and re-upload
- Skip errors and import anyway — check the Skip Errors checkbox. Error rows are skipped; all valid rows are still imported
- Download Error Report — exports a CSV listing each error row with the issue description, useful for correcting the source file
Step 4 — Import
Click Import to start. A progress bar tracks the operation:- Imported — rows successfully added so far
- Failed — rows that encountered an error during insert
- Processed — total rows handled so far
- ETA — estimated time remaining
After Import
When the import completes:- A summary shows the final counts (imported, failed)
- Click View Employees to go to the employee list — a notification shows the import count and date
- Click Undo Import if you need to reverse it — a confirmation prompt appears, then all imported records are deleted one by one